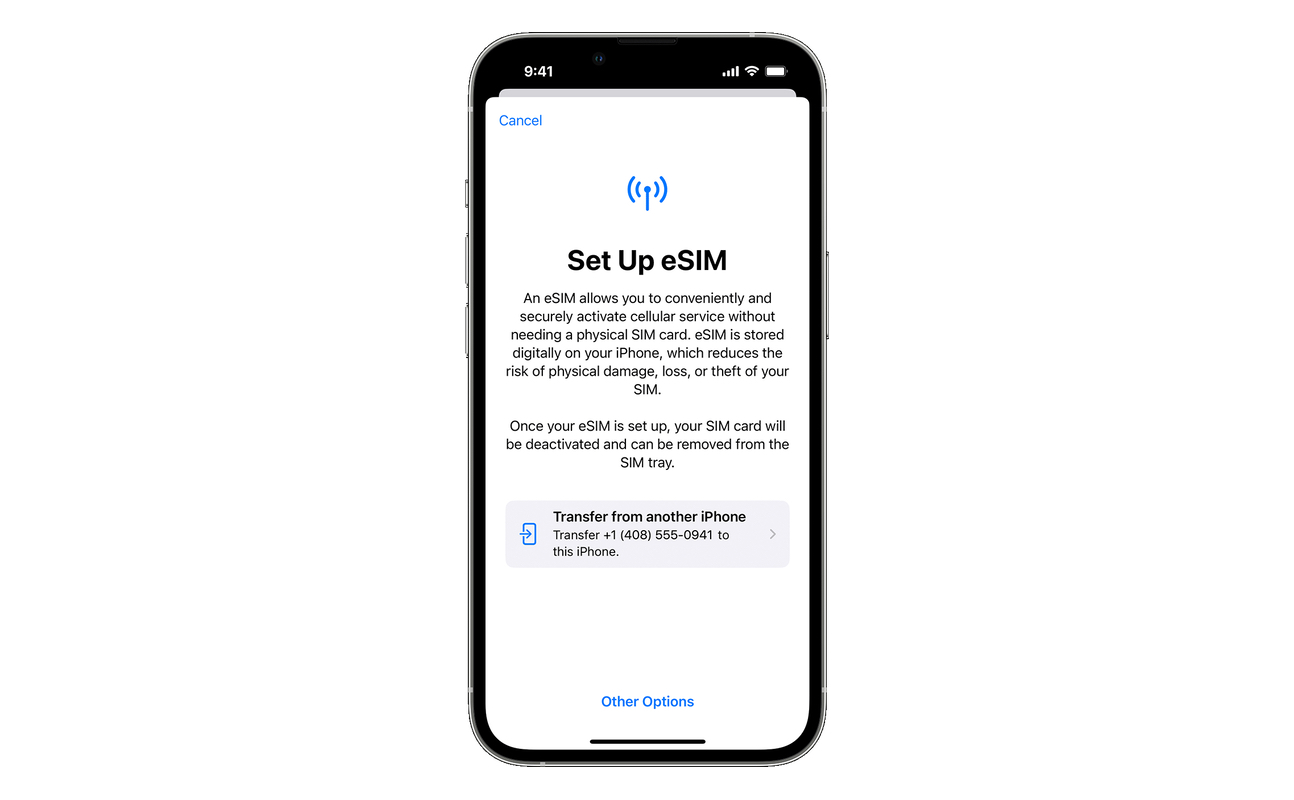
Transferring your eSIM to a new iPhone might sound tricky, but it’s actually quite easy. With these steps, you can do it without any trouble.
Before you start, make sure both your old and new iPhones are updated to iOS 16 or later, and that you have an internet connection. There are 2 options to do so:
- Manually Transfer eSIM:
- Go to Settings > Mobile Data > Set up mobile service.
- You’ll see your mobile numbers listed there.
- If your telecom operator doesn’t support automatic transfer, it will say ‘Transfer not supported’. In this case, contact your operator for help. You may need to send specific messages, like GETESIM to 199 for Jio or eSIM to 121 for Airtel.
- After sending the required messages, you’ll receive a confirmation email about your eSIM transfer.
2. Automatic eSIM Transfer:
- There are two ways to do this: ‘transfer from nearby iPhone’ or using a QR code.
- In Settings > Mobile Data > Set up mobile service, tap ‘Other options’ at the bottom.
- Choose ‘transfer from nearby iPhone’ or ‘QR code’.
- If you select ‘transfer from nearby iPhone’, follow the on-screen instructions on both phones to complete the transfer.
- If you choose the QR code option, you’ll need to contact your telecom operator for a QR code. Then, scan the code using your new iPhone’s camera, follow the prompts, and your eSIM will be transferred.
That’s it! Follow these steps, and you’ll have your eSIM transferred to your new iPhone in no time. Just remember, the method you use may depend on your telecom operator’s support for eSIM transfers.
Image Credit : Apple Inc.
